
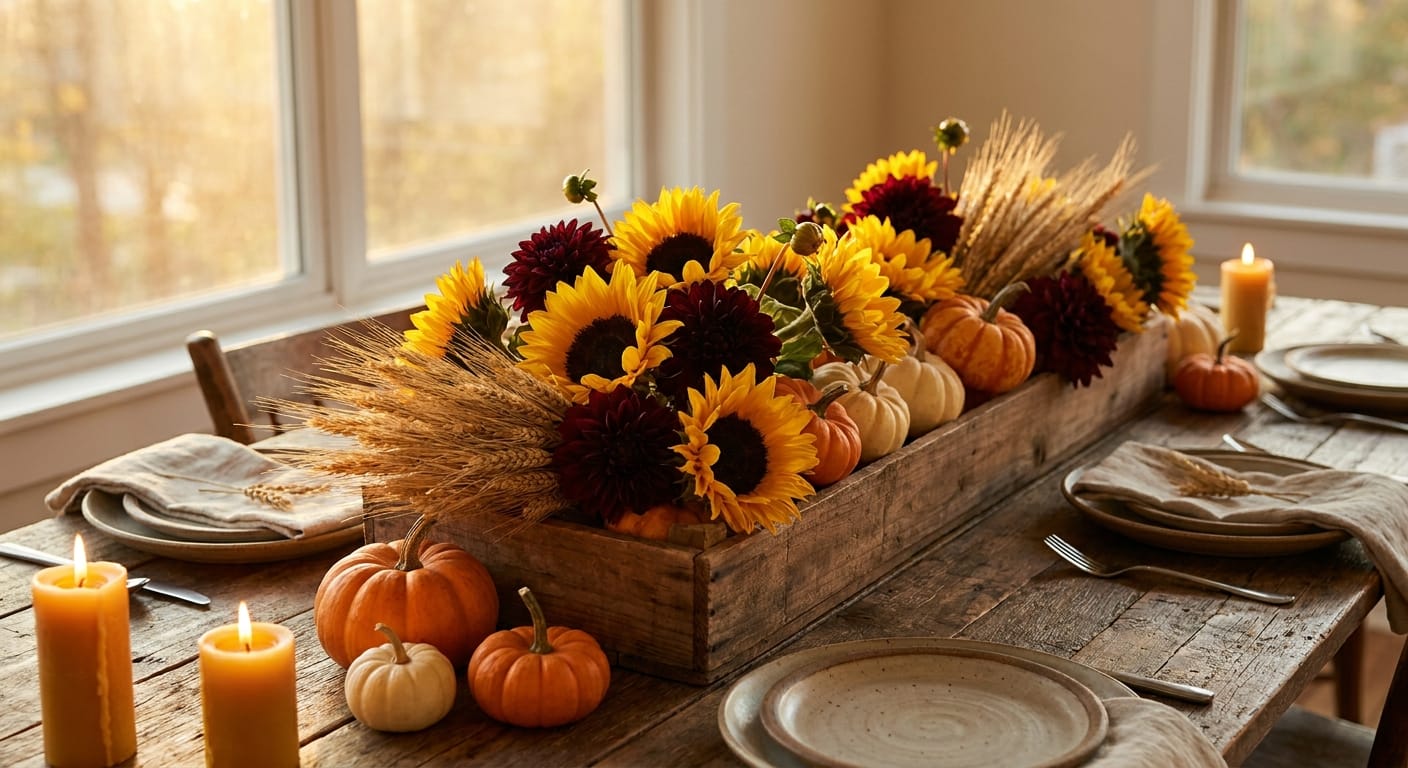
There is something honestly magical about sitting down to a Thanksgiving meal when the table actually looks like you put some thought into it. You don’t need to be a professional florist or spend hundreds at a boutique shop to create a show-stopping centerpiece. It’s all about working with the textures of the season and knowing a few industry trade secrets to keep everything looking fresh.
Whether you’re in a drafty farmhouse in Vermont or a sunny apartment in Southern California, these DIY ideas rely on the classic fall palette deep burgundy, burnt orange, golden yellow, and rustic bronze. Let’s walk through how to build an arrangement that will have your guests asking which local shop you visited.
Step 1 Prep Your Vessel and Base
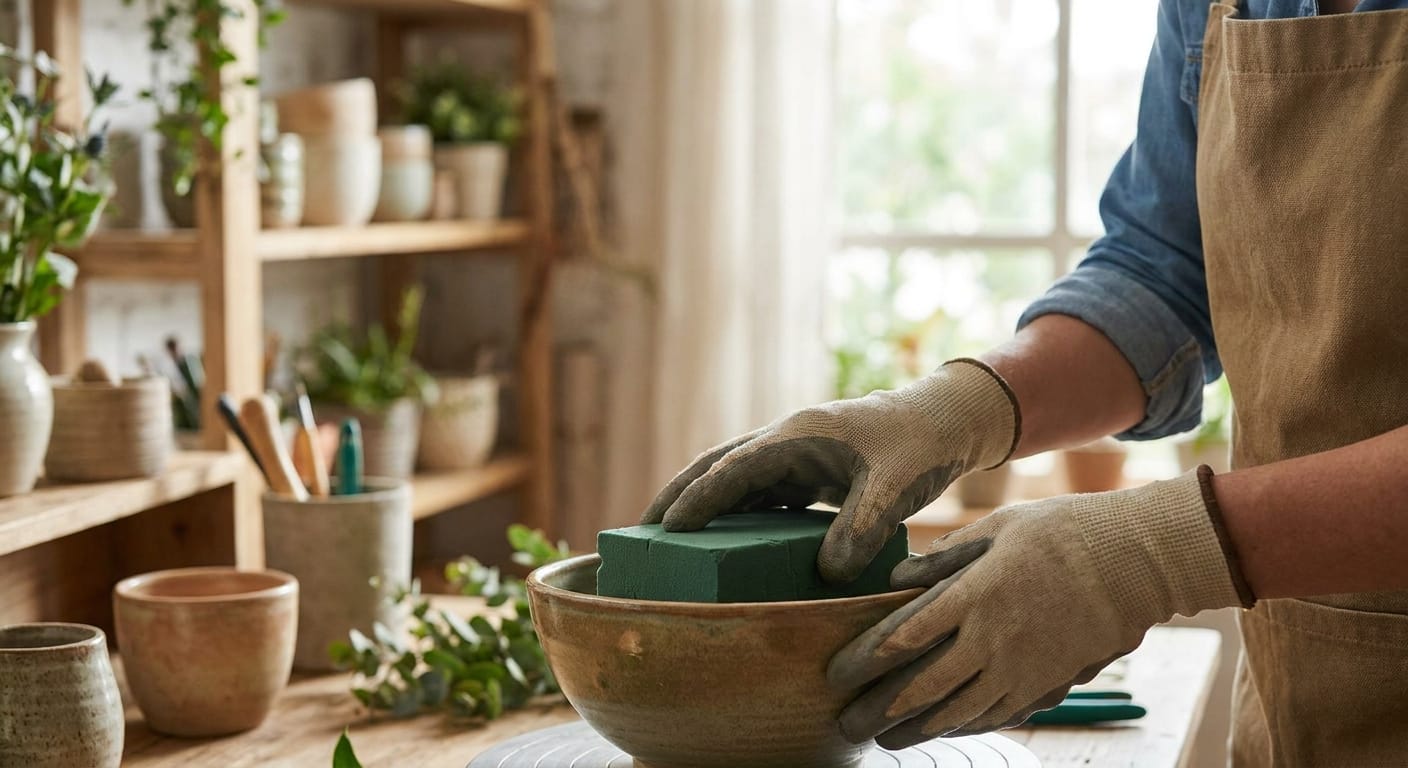
Before you even touch a flower, you need a solid foundation. If you’re using a vase, make sure it’s sparkling clean bacteria is the enemy of longevity. For a wider, more traditional Thanksgiving look, I love using a low wooden box or a hollowed-out pumpkin. If you’re using a container that isn’t naturally waterproof, grab a plastic liner or a small bowl to sit inside.
If you’re using floral foam, soak it in water mixed with flower food until it sinks on its own don’t force it down, or you’ll get air pockets. Pro tip: Tape a grid over the top of your vase with waterproof floral tape if you aren't using foam. It creates a structure that keeps your stems exactly where you place them. It’s the difference between a messy pile of stems and a professional, airy arrangement.
Step 2 Establish Your Greenery Anchor
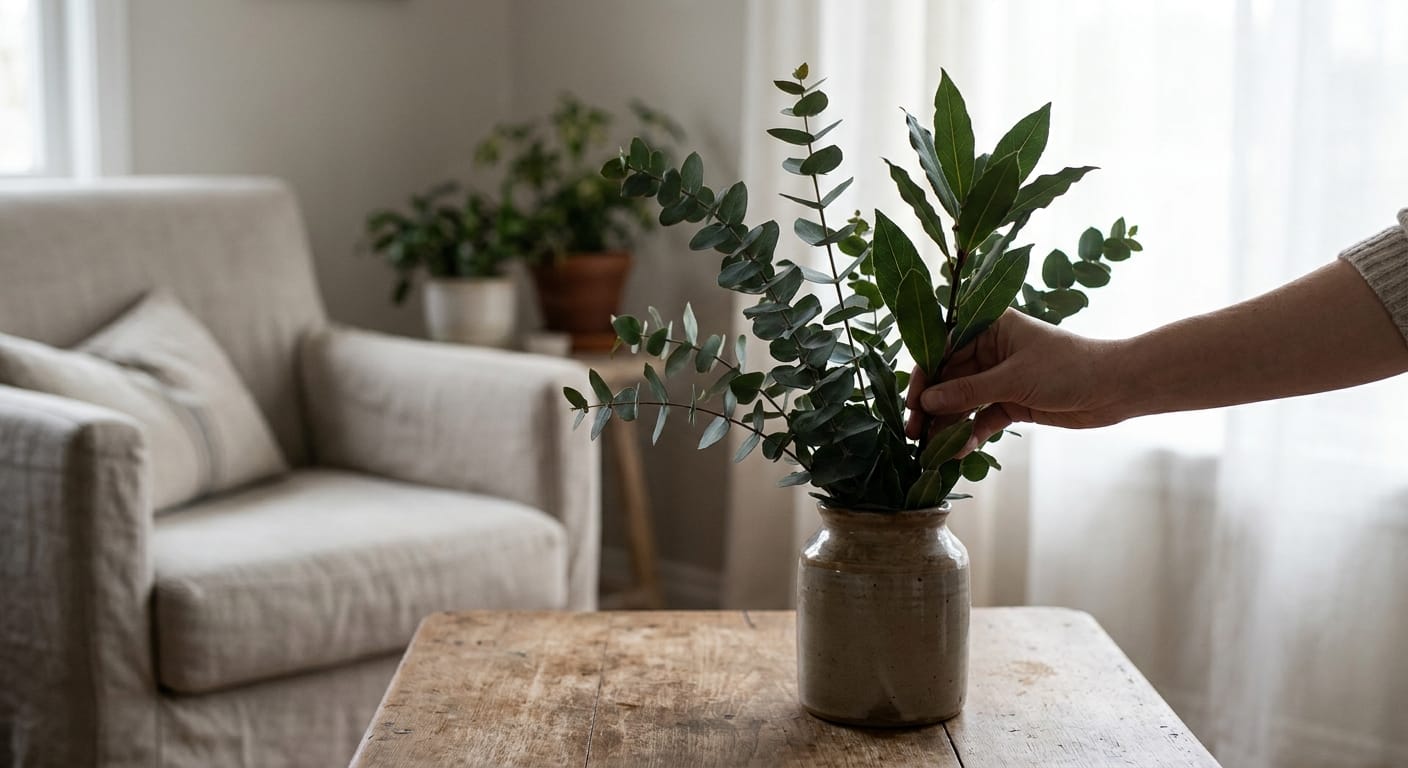
Don’t start with the expensive blooms. Start with your greenery. You want to create a shape that feels balanced but not too rigid. I like to use a mix of seeded eucalyptus, bay leaves, or even some foraged magnolia branches if you have them nearby. These act as your 'anchor' and fill in the gaps so you don't have to buy as many expensive flowers.
Place your greenery at different angles some trailing over the sides and some standing tall in the center. This creates that organic, garden-gathered look that is so popular right now. If your centerpiece is for a long dining table, make sure the arrangement stays low enough so guests can actually see each other across the table. Nobody wants to play peek-a-boo with a sunflower all night.
Step 3 Add Your Focal Flowers
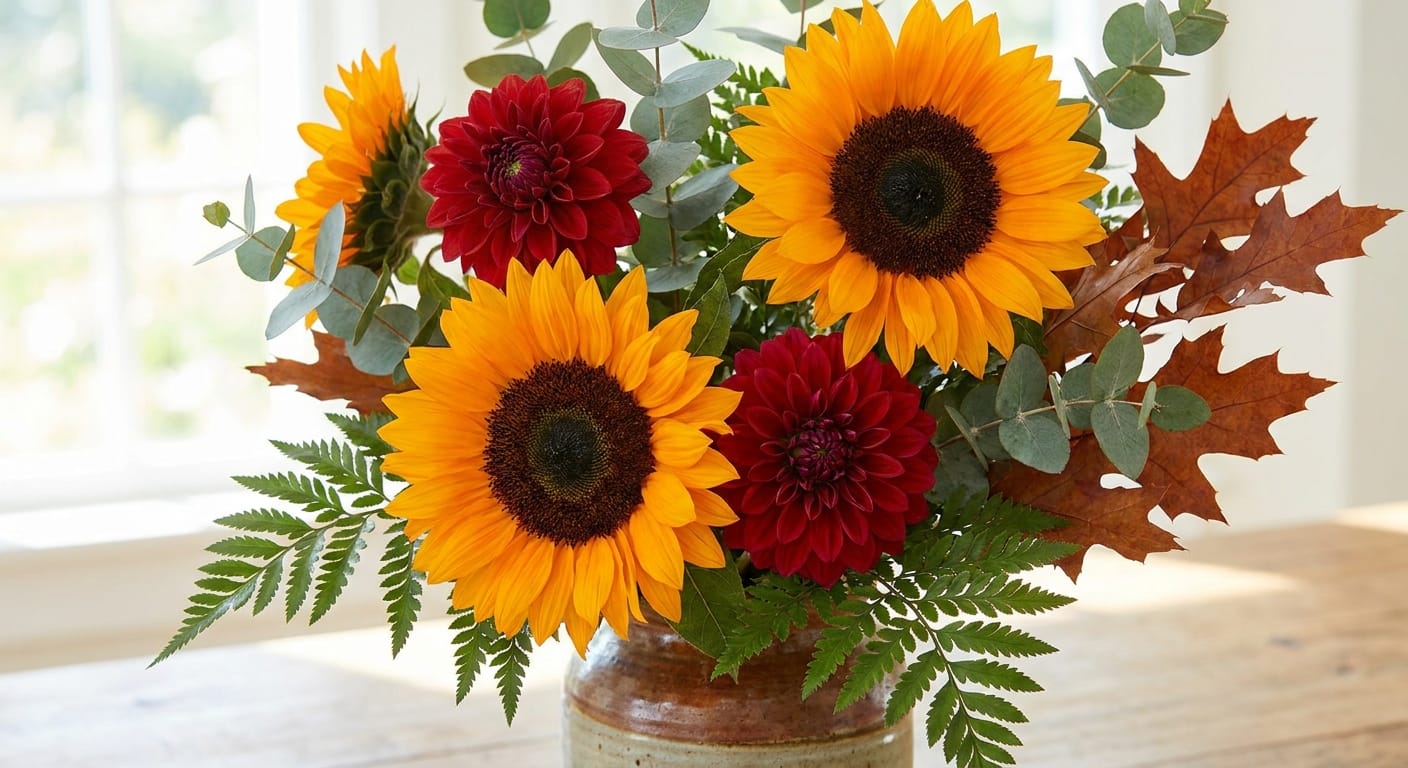
Now for the stars of the show. Your focal flowers should be the boldest, most beautiful stems in your bunch. Think sunflowers, dahlias, or large-headed roses in those rich burgundy and gold tones. Place these in the arrangement first, spacing them out unevenly.
In my experience, odd numbers are your best friend. A group of three or five flowers will always look more natural to the human eye than an even number. Don’t crowd them; give every bloom a little room to breathe. If you’re in a warmer climate, keep these away from the oven. Even a few degrees of extra heat can cut the lifespan of a dahlia in half, and we want these to look perfect through the weekend.
Step 4 Incorporate Texture and Seasonal Elements

This is where the magic happens. A centerpiece becomes a Thanksgiving centerpiece when you add those specific harvest elements. Tuck in some dried wheat stalks, hypericum berries, or even small, ornamental gourds on wire picks. These textures provide that rustic, cozy vibe that screams autumn.
I love using burgundy and gold accents here. If your flowers are primarily orange and yellow, add some dark, moody foliage or deep red carnations to ground the color palette. It adds depth and makes the arrangement feel sophisticated rather than just 'crafty.' If you're feeling adventurous, add a few sprigs of dried lavender or even some cinnamon sticks tied with twine for a scent that fills the room.
Step 5 The Final Polish
Take a step back. Look at the arrangement from all angles your guests will be looking at it from every seat at the table. Do you see any gaps? If you see foam or the rim of the vase, tuck in a little extra greenery or a small filler flower. If it looks a little lopsided, don't worry! That’s the beauty of a DIY centerpiece; it should look like it came straight from a meadow, not a factory.
One last thing: check your water levels. Your flowers are going to be thirsty, especially if your house is heated. Top off the water every morning. If you notice a petal starting to wilt, just pull it off carefully. A little maintenance goes a long way in keeping your table looking fresh and vibrant until the last piece of pie is served.
The bottom line is that your centerpiece should reflect your personal style, so don't be afraid to experiment with colors and textures you love. With a solid structure and a few seasonal flourishes, you'll have a beautiful, professional-looking arrangement that makes the holiday feel extra special.

