
Roses have a reputation for being difficult to grow. They're not. This reputation was earned by the fussy hybrid tea roses that dominated gardens in the 20th century and genuinely did require precise care. But the modern rose landscape is vastly different, with hundreds of disease-resistant, low-maintenance varieties available to home gardeners across the United States. With the right knowledge, even a complete beginner can have a flourishing rose garden on a balcony, in a raised bed, or in a small backyard.
This guide covers everything from choosing the right variety for your climate to diagnosing common problems. By the time you finish reading, you'll have a clear, actionable plan for your first rose garden.

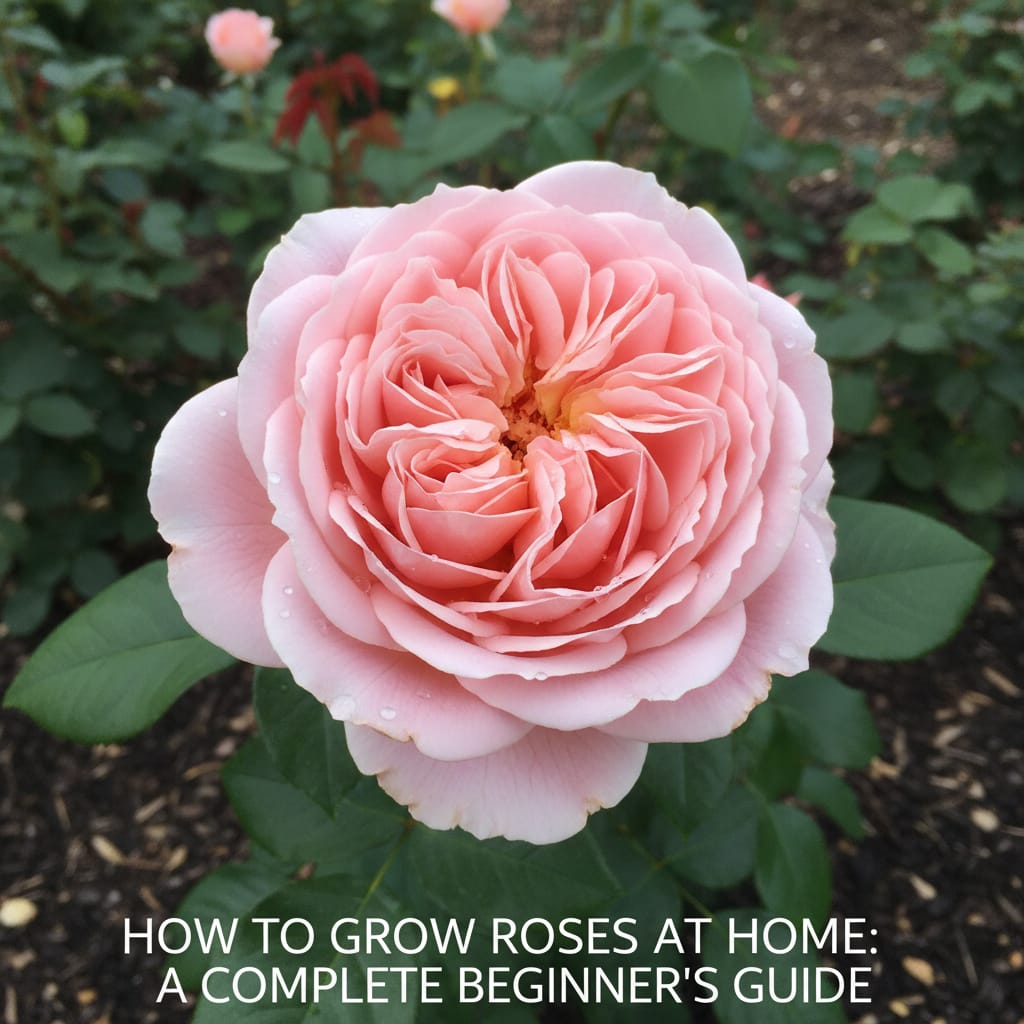
Choosing the Right Rose Variety
The first and most important decision is choosing the right rose for your situation. Different varieties have dramatically different care requirements, bloom habits, and tolerances for climate.
Hybrid Tea Roses
The classic, elegant single-stem roses seen in florist shops. Hybrid teas produce large, formal blooms on long stems ideal for cutting. They bloom in flushes throughout the season and are the most commercially cultivated rose in the US. The trade-off: they require more care than most modern roses and are more susceptible to disease. Recommended varieties: Mr. Lincoln (deep red, extremely fragrant), Peace (yellow-pink blend), and Double Delight (red-white bicolour).
Floribunda Roses
Multiple blooms per stem, producing a more abundant, casual display than hybrid teas. Floribundas are more disease-resistant and generally easier to grow. They bloom prolifically throughout the season. Recommended for garden beds where colour impact matters more than cutting-quality stems. Best varieties: Iceberg (white), Showbiz (red), and Julia Child (warm yellow, very fragrant).
Shrub and Landscape Roses
The easiest roses to grow, by far. Modern shrub roses (including the Knock Out series) are bred specifically for disease resistance, continuous blooming, and minimal maintenance. They require almost no spraying and bloom from spring through first frost. Perfect for beginners, for mass plantings, and for anyone who wants beautiful roses without high maintenance. The Knock Out rose has been the best-selling rose in the US for over a decade for good reason.
Climbing Roses
For walls, fences, pergolas, and trellises. Climbing roses produce spectacular displays and are generally vigorous and low-maintenance once established. Popular varieties include New Dawn (blush pink, disease resistant), Blaze (red, very vigorous), and Lady Banks (pale yellow, thornless, excellent for warm climates).
Miniature Roses
Perfect for containers, balconies, windowsills, and small gardens. Miniature roses bloom prolifically and are generally hardier than their larger cousins. They're excellent for apartment dwellers who want to grow roses in limited space.
Understanding Your Climate Zone
Before purchasing any rose, check your USDA Hardiness Zone (available at planthardiness.ars.usda.gov). Most roses thrive in Zones 4–9. If you're in a colder zone (1–3), look specifically for Canadian-bred roses like Explorer and Parkland series, which are bred for extreme winter hardiness. In hot, humid southern climates (Zones 9–11), disease-resistant varieties like Knock Out and many older varieties (China roses, Tea roses) outperform hybrid teas.
Soil Preparation: Getting It Right from the Start
Roses need well-draining, moderately rich, slightly acidic soil (pH 6.0–6.5). The investment you make in soil preparation will directly determine how well your roses perform.
Testing your soil: A simple pH test kit (available at garden centres for under $10) will tell you exactly where your soil stands. Most US garden soils are slightly acidic to neutral, which is ideal. If your soil is alkaline (pH above 7.0), work in elemental sulfur or acidifying fertiliser. If it's too acidic (below 5.5), add lime.
Improving drainage: If your soil is heavy clay, work in generous amounts of compost and coarse horticultural sand to improve drainage. Roses sitting in waterlogged soil will develop root rot rapidly.
Building a planting mix: For ideal results, use a mix of two parts native soil, two parts quality garden compost, and one part coarse horticultural sand. For container growing, use a premium potting mix amended with rose-specific fertiliser.

Planting Your Roses
When to plant: In most US regions, plant bare-root roses in late winter to early spring (February–April) while they're dormant. Container-grown roses can be planted any time during the growing season, though spring and fall are ideal.
Planting depth: For grafted roses, plant with the bud union (the swollen knob where the canes meet the rootstock) 1–2 inches below the soil level in colder climates, or at soil level in warmer regions (Zones 7 and above). For own-root roses, plant at the depth shown in the container.
Spacing: Allow adequate space for air circulation. Most hybrid teas and floribundas need 2–3 feet between plants. Shrub roses need 3–5 feet. Crowded roses have more disease problems.
First watering: After planting, water deeply and thoroughly. Then mulch around the base (not touching the stems) with 3 inches of organic mulch to retain moisture and suppress weeds.
Sunlight Requirements
Roses need a minimum of 6 hours of direct sunlight per day. This is non-negotiable. Without adequate sun, roses produce fewer blooms, grow leggy, and become much more susceptible to disease.
Morning sun is ideal. It dries the dew on leaves before it can encourage fungal disease. Afternoon sun is more intense and can stress roses in hot southern climates. If you can position your roses to receive morning sun with light afternoon shade (especially in Zones 8–10), they will often perform better than in full afternoon sun.
Watering: The Right Amount at the Right Place
Roses prefer deep, infrequent watering over frequent shallow watering. Deep watering encourages roots to grow down into the soil, making plants more drought-tolerant and more stable.
In most US climates during the growing season, water deeply 2–3 times per week (more in hot, dry weather). In winter, once a week or less as needed. Always water at the base of the plant, never on the foliage. Wet leaves encourage fungal diseases like black spot and powdery mildew, the two most common rose problems.
Drip irrigation is ideal for roses. It delivers water directly to the root zone and keeps foliage completely dry. If you're using a hose, water in the morning so foliage has time to dry before evening.
Fertilising for Maximum Blooms
Roses are heavy feeders and reward generous fertilisation with abundant, high-quality blooms.
Starting fertiliser (spring): As new growth begins in spring, apply a slow-release granular rose fertiliser according to package directions. This provides steady nutrition throughout the growing season.
Ongoing fertilisation: Follow up with liquid fertiliser (fish emulsion, seaweed, or rose-specific liquid feed) every 2 weeks during the growing season (April–September). Stop fertilising 6–8 weeks before your expected first frost to allow the plant to harden off for winter.
Organic alternatives: Bone meal (phosphorus, encourages blooming), blood meal (nitrogen, encourages growth), composted manure, and banana peel tea (potassium) are excellent organic options that improve soil health over time.
Pruning: When and How
Proper pruning is the single skill that most determines how well roses bloom. It sounds intimidating but is genuinely simple once you understand the basic principles.
When to prune: In most US climates, prune once in late winter or early spring (February–March), just as forsythia is beginning to bloom. This is when the rose is about to break dormancy but hasn't yet put energy into new growth.
How much to remove: Remove all dead, diseased, or crossing canes. Remove any canes thinner than a pencil. Then shorten the remaining healthy canes by about one-third to one-half their length.
Cutting technique: Always cut just above an outward-facing bud (a small, plump bump on the cane) at a 45-degree angle, slanting away from the bud. This directs new growth outward, opening up the center of the plant for air circulation.
Deadheading: Throughout the season, remove spent blooms by cutting back to the first leaf with five leaflets. This redirects the plant's energy from seed production back into blooming, producing a second (and third) flush of flowers.
Common Problems and How to Fix Them
| Problem | Likely Cause | Solution |
|---|---|---|
| Black spots on leaves | Black spot fungal disease | Remove affected leaves, apply neem oil spray weekly, improve air circulation |
| Yellow leaves | Overwatering or nitrogen deficiency | Reduce watering, apply balanced fertiliser |
| Powdery white coating on leaves | Powdery mildew | Improve air circulation, apply potassium bicarbonate or neem oil |
| No blooms | Insufficient sun or over-nitrogenous fertiliser | Move to sunnier spot, switch to phosphorus-rich bloom fertiliser |
| Distorted new growth | Aphid infestation | Knock off with water jet, apply neem oil, introduce ladybirds |
| Canes dying back from tips | Winter damage or canker | Prune to healthy wood showing white pith |
Overwintering Your Roses
In USDA Zones 5 and colder, roses need protection from winter. In Zones 6 and warmer, most modern roses need no special winter care beyond a final cleanup.
For cold climates (Zones 3–5): After the first hard frost, mound 10–12 inches of soil or compost around the base of each plant. Once frozen, add straw or pine needles over the mound. Remove protection gradually in spring as temperatures consistently stay above freezing.
Climbing roses in cold climates: Remove canes from their support, bundle them loosely, and lay them on the ground. Cover with straw or burlap. Reattach to their support in spring.
Your First Year Timeline
February/March: Prune and clean up beds. Apply slow-release fertiliser as new growth begins.
April/May: Blooms begin. Begin deadheading spent flowers. Continue bi-weekly fertilising.
June/July: Peak bloom season. Watch for black spot and aphids. Water deeply through heat.
August: Second flush of blooms. Continue care as before.
September/October: Third flush of blooms on repeat-blooming varieties. Begin tapering fertiliser.
November: After first frost, clean up fallen leaves (disease prevention). Apply winter mulch in cold zones.
Frequently Asked Questions
Quick answers to common questions


